|
Paper Plate Education
"Serving the Universe on a Paper
Plate"
Activity: Plate-a-tarium
The Plate-a-tarium
is the ultimate plate model that
shows the sun and planets in the solar plane relative to a fixed earth. The Plate-a-tarium
depicts features of the celestial sphere such as the celestial equator and
ecliptic;
indicates real time positions of the planets and the zodiac in both
azimuth and altitude; and illustrates rising
and setting position of the sun and planets for any given date.
Intersect
Two Trays
 |
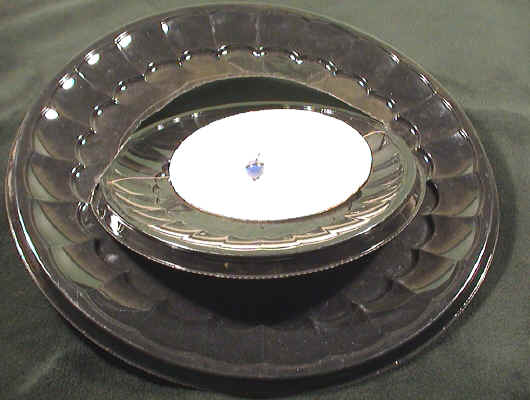
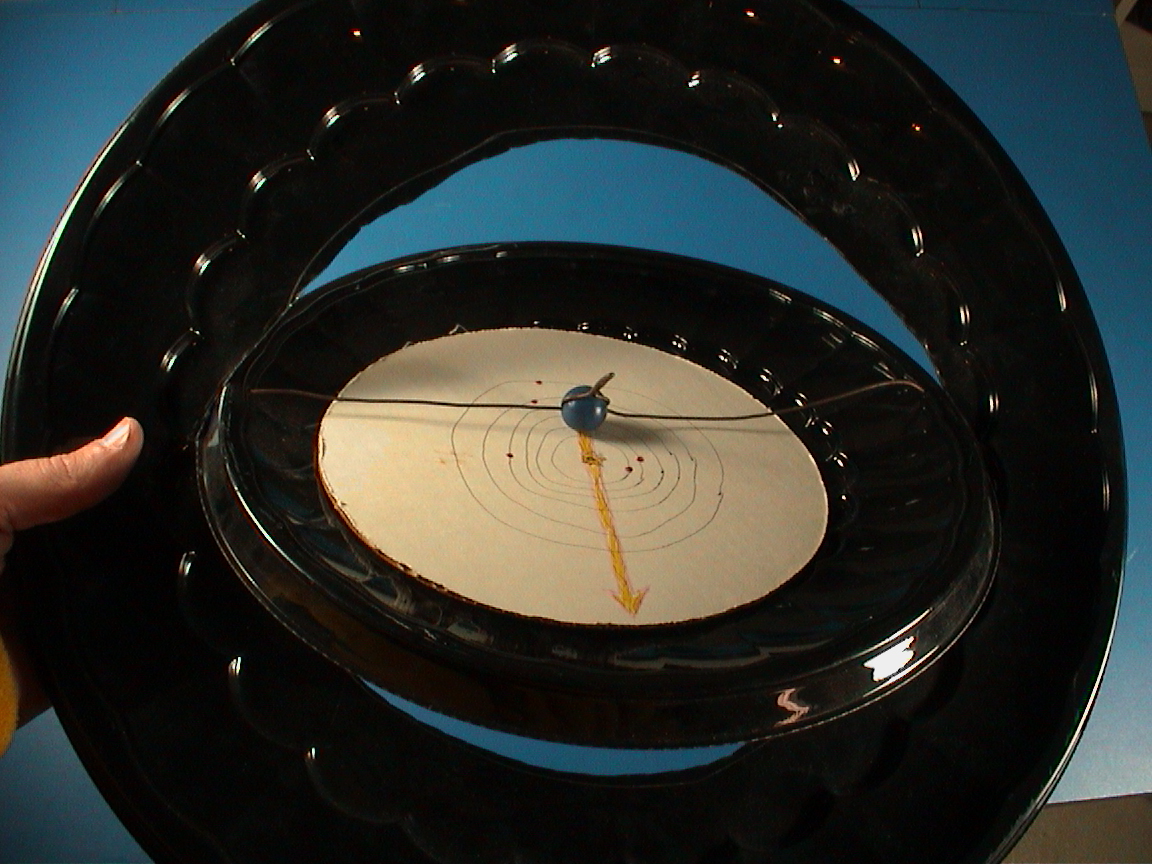
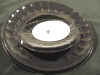
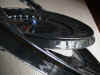
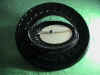
In
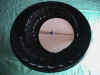
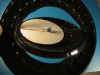
the sample Plate-a-tarium constructed here, an outer black plastic tray
represents the celestial equator and an inner black plastic tray
represents the solar plane. The edge of the solar plane defines
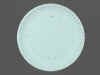
the ecliptic. Cut out the central portion of the
large tray so the smaller tray wedges snugly inside the opening.
Punch a small hole through the center of the inner tray. |
|
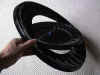
The
plastic trays provide rigidity. As an alternative, you can simply
cut a circle out of a cardboard cake tray, leaving the two hinge points
uncut and reinforcing them with tape. The cake tray model, however,
will not hold up as well with all of the handling you can expect for your
Plate-a-tarium. |
|
|
|
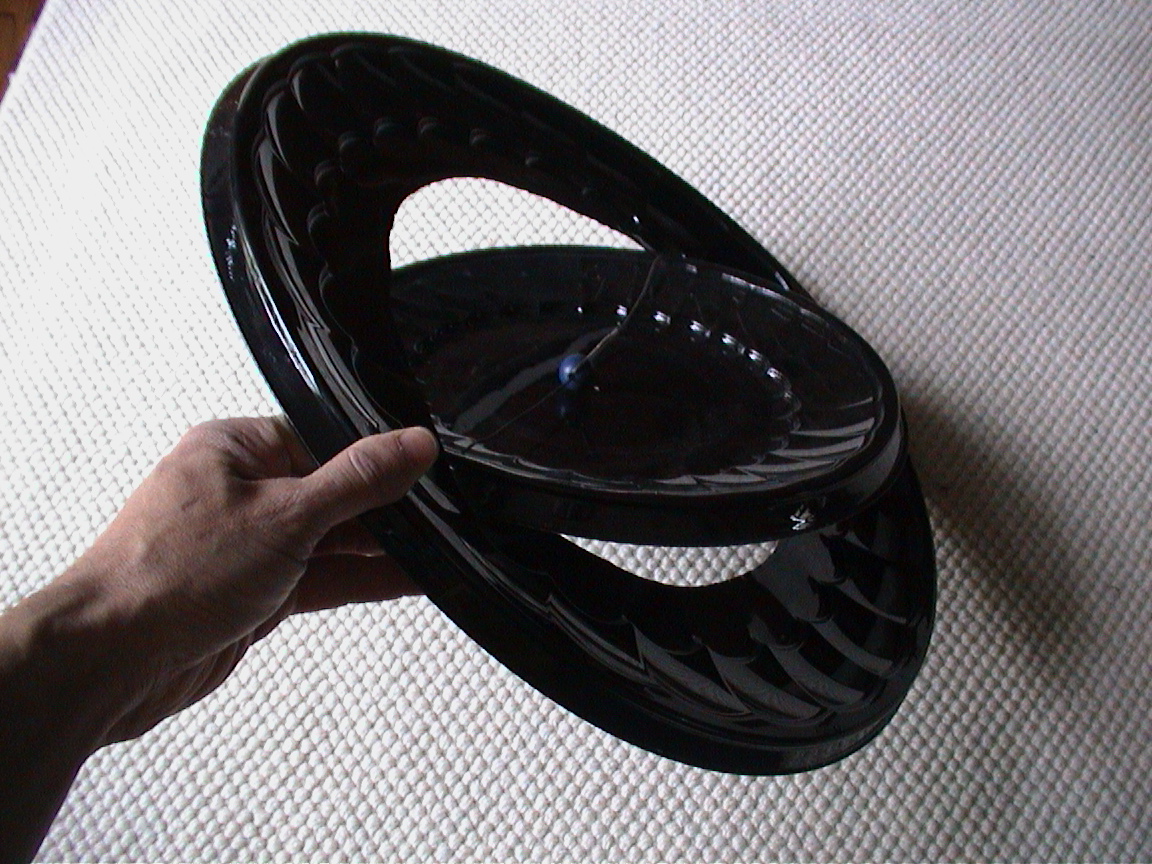
To reinforce the intersecting hinge points on the black plastic trays, you
will soon tape a rigid wire to the backsides of the large tray. You will run the wire through holes on the edge of the small tray so the wire
rests across the top at the smaller tray's diameter. |
|
|
 |
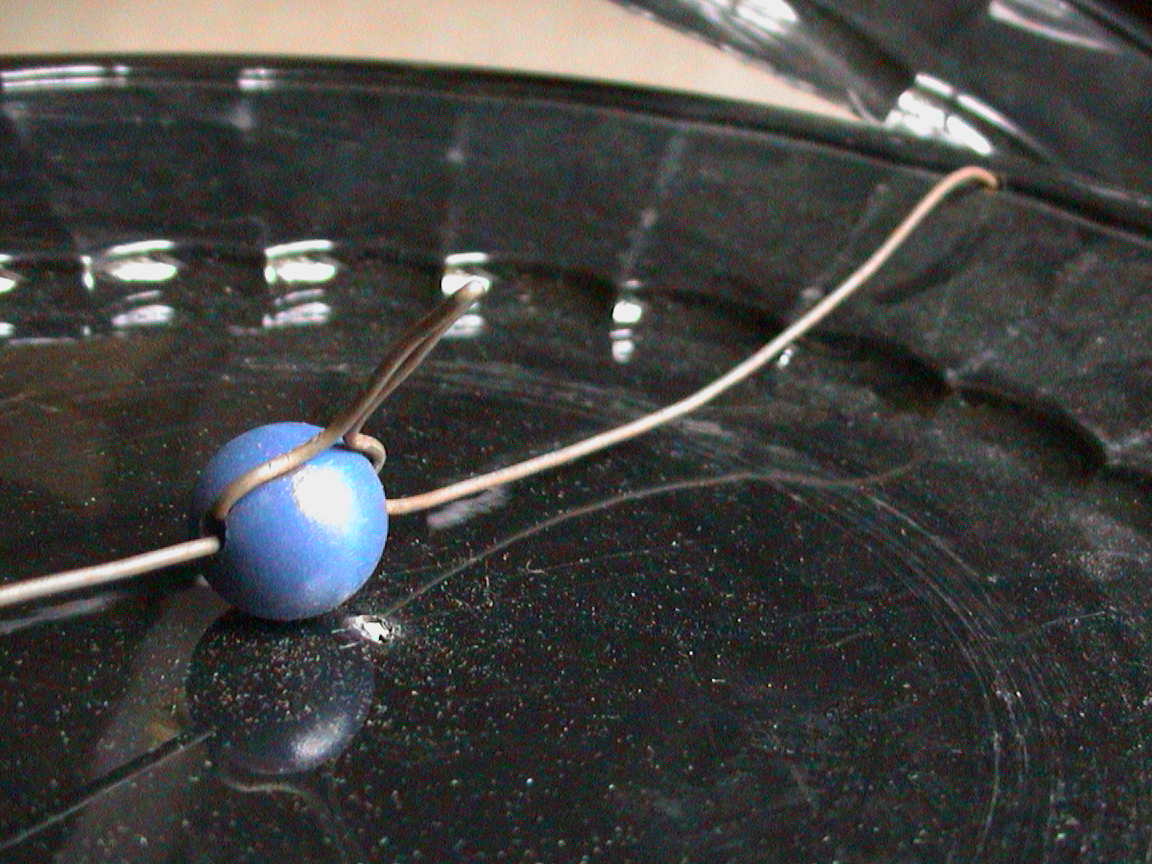
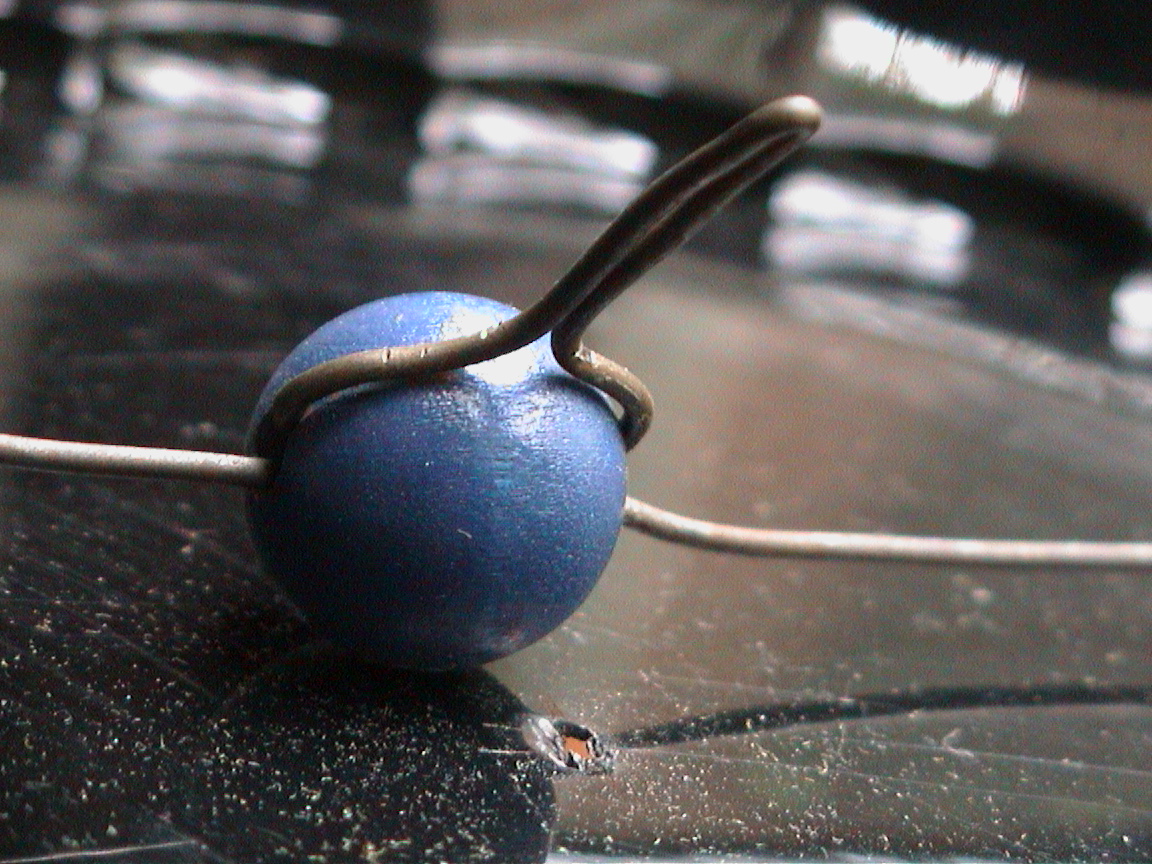
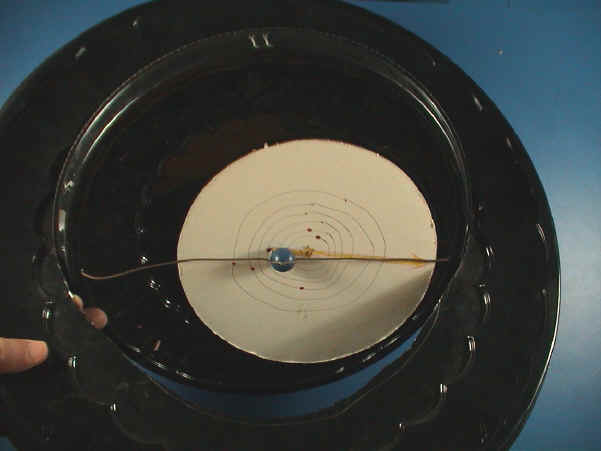
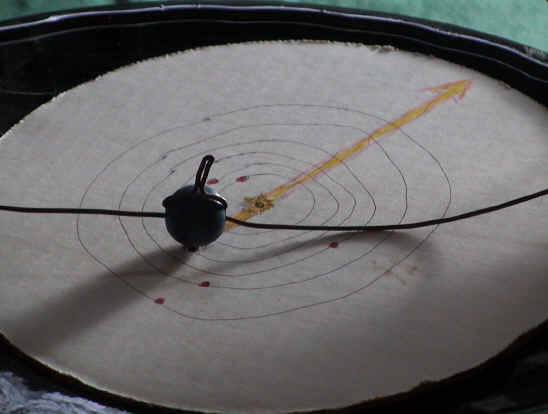
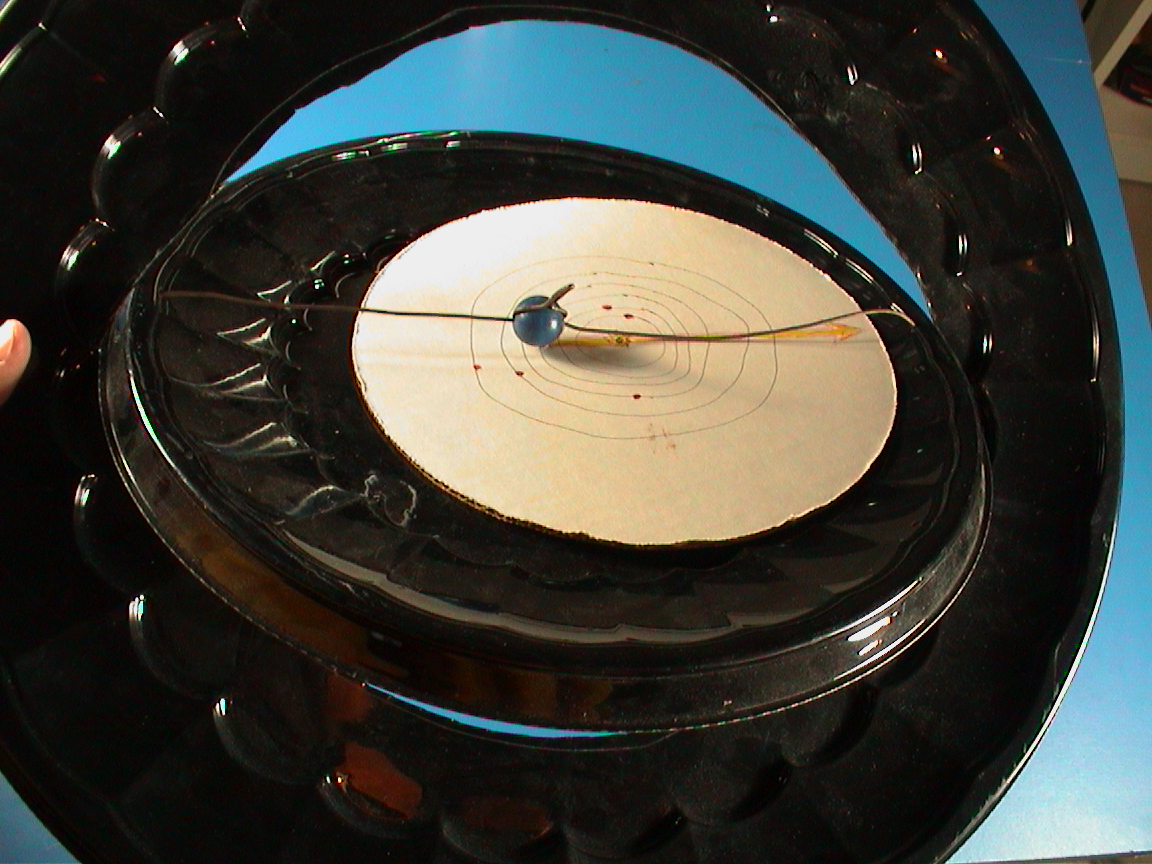
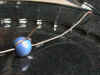
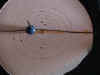
But first, midway on the wire affix a sphere to represent
the earth. In this example the wire goes through the center of a
blue bead, wraps around and up to suggest a north pole axis of the earth,
and then goes back through the hole in the bead. The earth should be
centered over the small hole on the inner tray. |
|
|
 |
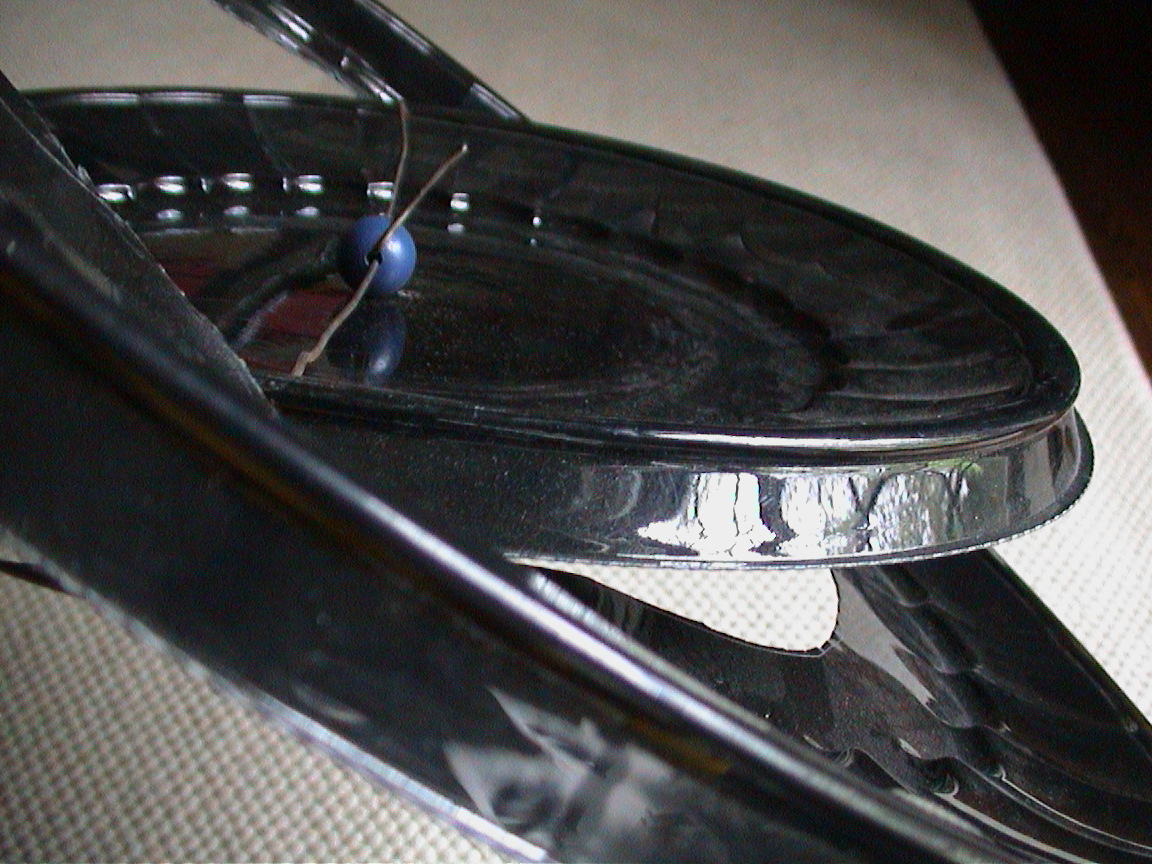
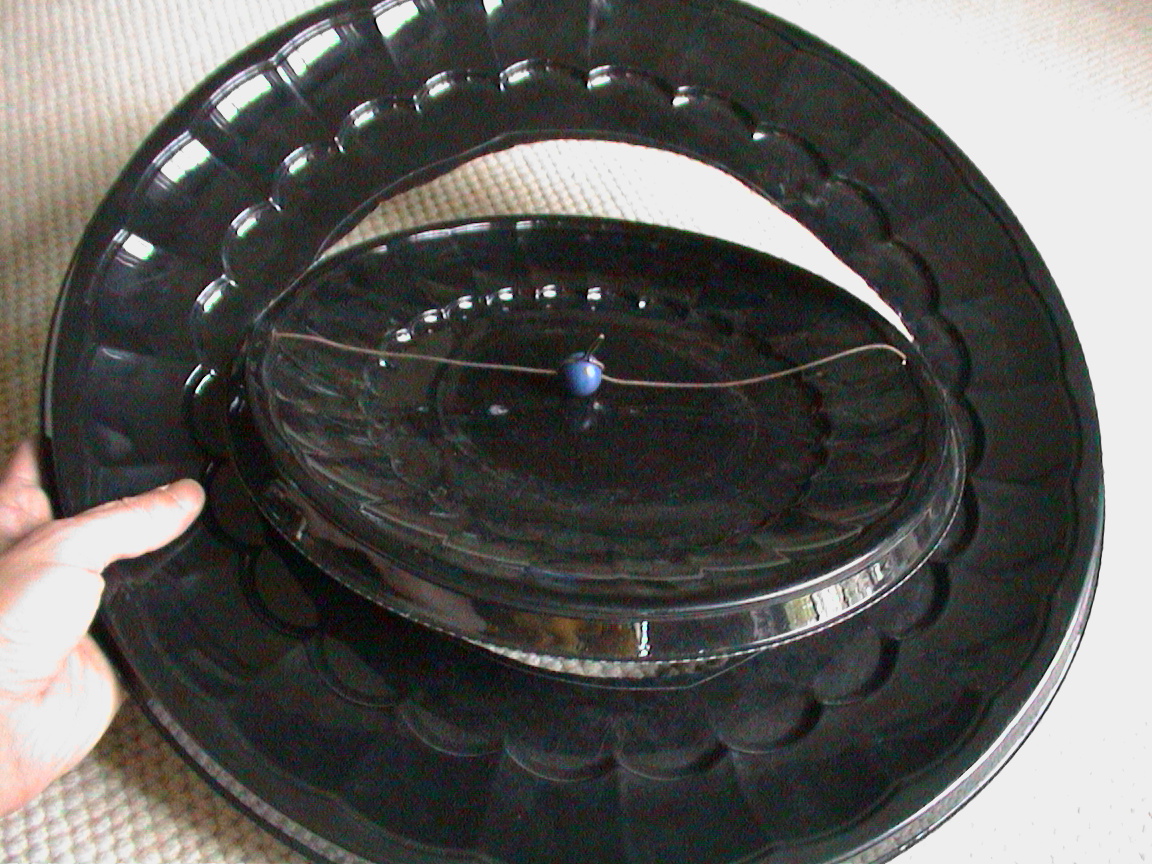
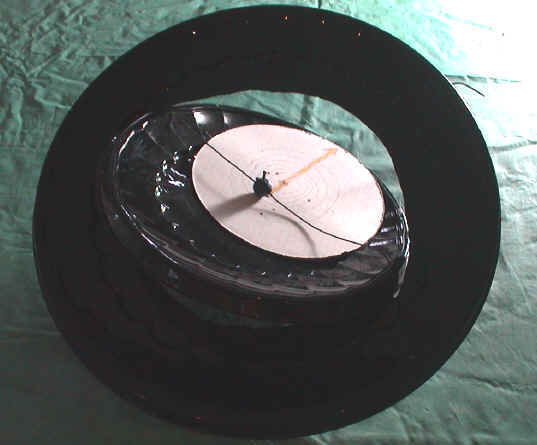
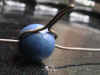
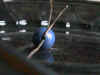
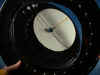
Secure the trays so that the inner tray (solar plane) is inclined
23 ½ degrees to the outer tray (celestial equator). The
backbone wire can help keep the trays separated. Bend the wire
around the bead so the north pole axis is perpendicular to the large outer
tray (celestial equator). |
|
|
 |
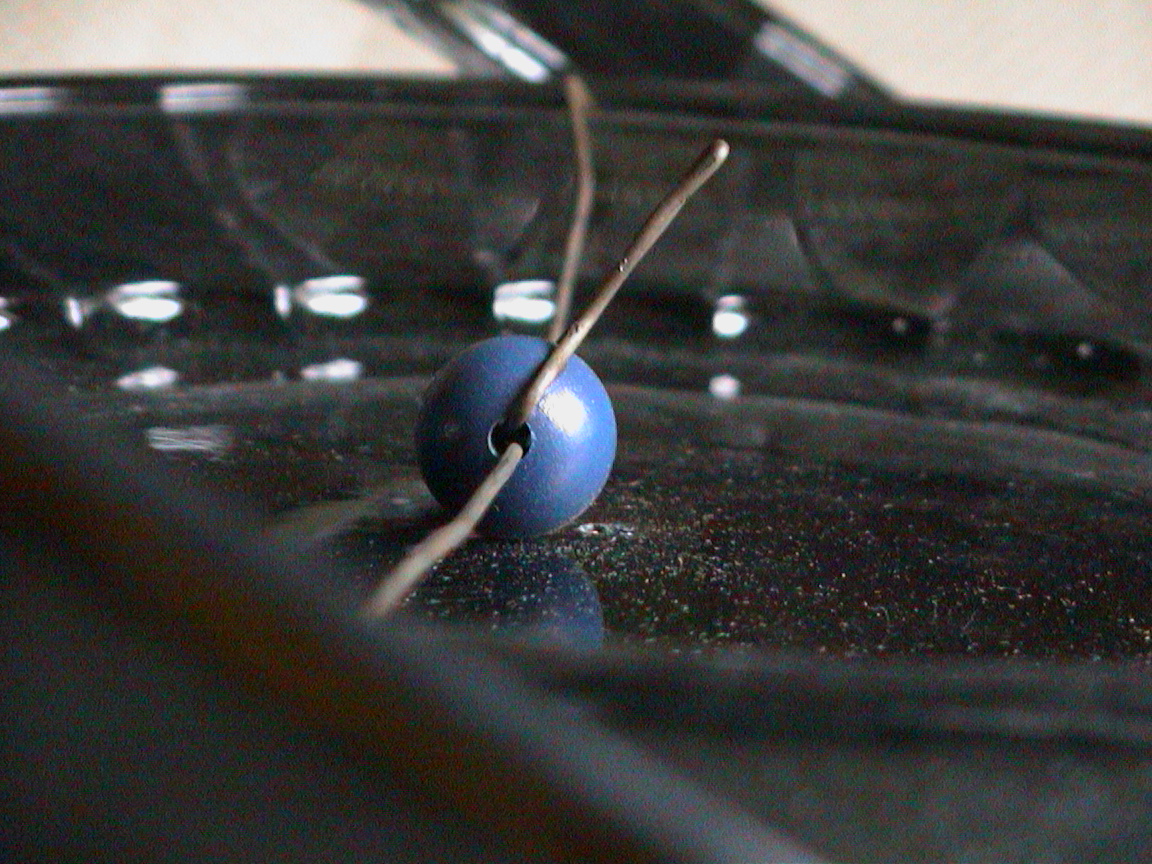
The wire representing the north pole will then appear inclined
23 ½ degrees to the inner plate. The earth should be floating above
the hole in the inner tray. |
|
|
|
Make a Solar System Plate
|
 |
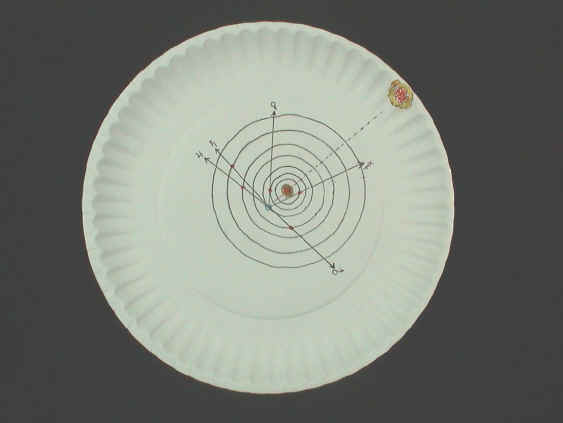
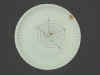
On a separate smaller plate or tray, draw the
visible planets in
orbit around the sun for their current positions. This can be done
several ways. For example, you can plot the planet directions using
Right Ascension data, or you can draw the familiar orbits around the sun
and copy their respective positions from a current source.
The following excerpt from the Planet
Pointer II activity describes how to construct an accurate plate with
the earth at the center of the plate (a requirement of that
activity). For simplicity you may prefer to have the sun at the
center of the plate. Either way works for this activity, though a
hole will go through the earth, not the sun, in all of these heliocentric
drawings.
|
|
Excerpt from Planet
Pointer II:
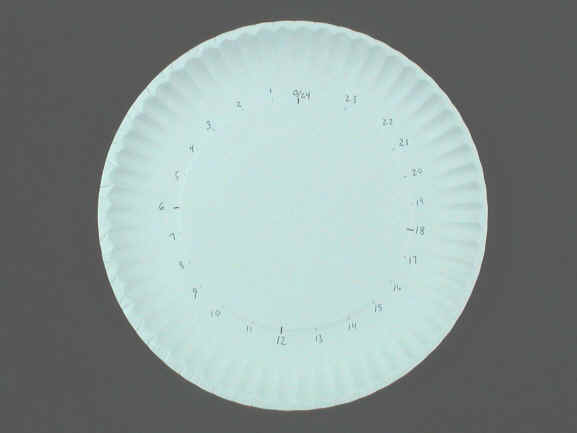
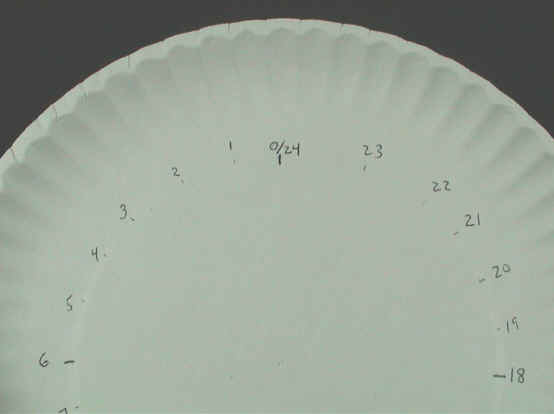
 Around the perimeter of a plate, mark 24 hours of right ascension
counterclockwise. The center of the plate represents earth.
Around the perimeter of a plate, mark 24 hours of right ascension
counterclockwise. The center of the plate represents earth.

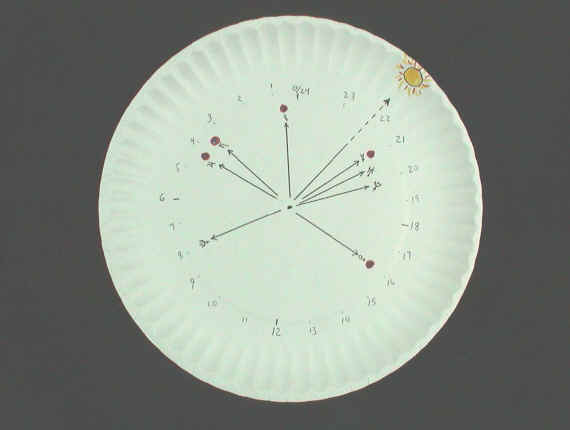
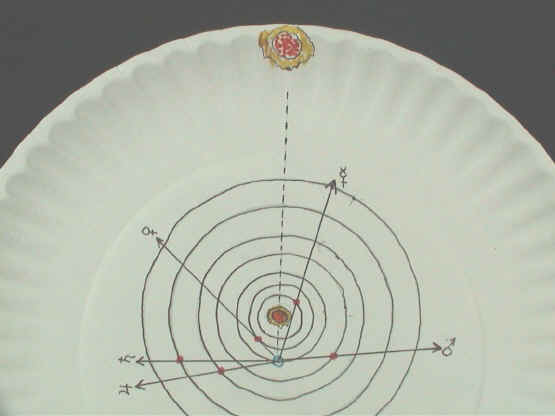
 Plot
the positions of the planets and the sun by extending lines outward from
the central earth to the right ascension value. The R.A. values can
be found under "Planet Summary Data" and at "Sun and Moon
data for today" at http://www.heavens-above.com...Label
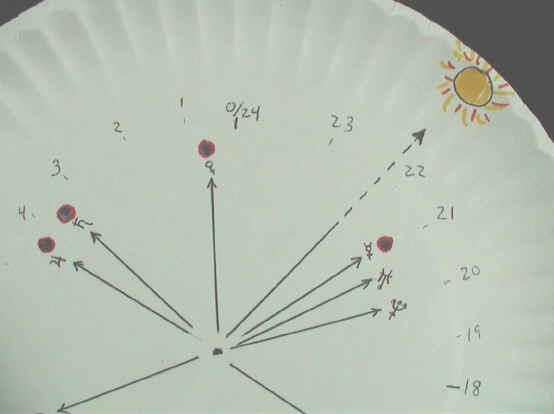
the lines with planet names or symbols. Extend the sun line to the
edge of the plate... Plot
the positions of the planets and the sun by extending lines outward from
the central earth to the right ascension value. The R.A. values can
be found under "Planet Summary Data" and at "Sun and Moon
data for today" at http://www.heavens-above.com...Label
the lines with planet names or symbols. Extend the sun line to the
edge of the plate...
 An alternative method is to draw the earth at the center of the plate in
orbit around the sun... From the earth, extend lines outward through
the planets (in their current orbital positions) toward the perimeter of
the plate. Notice that the inferior planets can be in two different
positions in their orbit and still yield the same line of sight.
Label the lines with planet names or symbols. Again extend the sun
line to the edge of the plate... The resulting lines should be identical
to the first method that uses right ascension.
An alternative method is to draw the earth at the center of the plate in
orbit around the sun... From the earth, extend lines outward through
the planets (in their current orbital positions) toward the perimeter of
the plate. Notice that the inferior planets can be in two different
positions in their orbit and still yield the same line of sight.
Label the lines with planet names or symbols. Again extend the sun
line to the edge of the plate... The resulting lines should be identical
to the first method that uses right ascension.
|
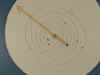 |
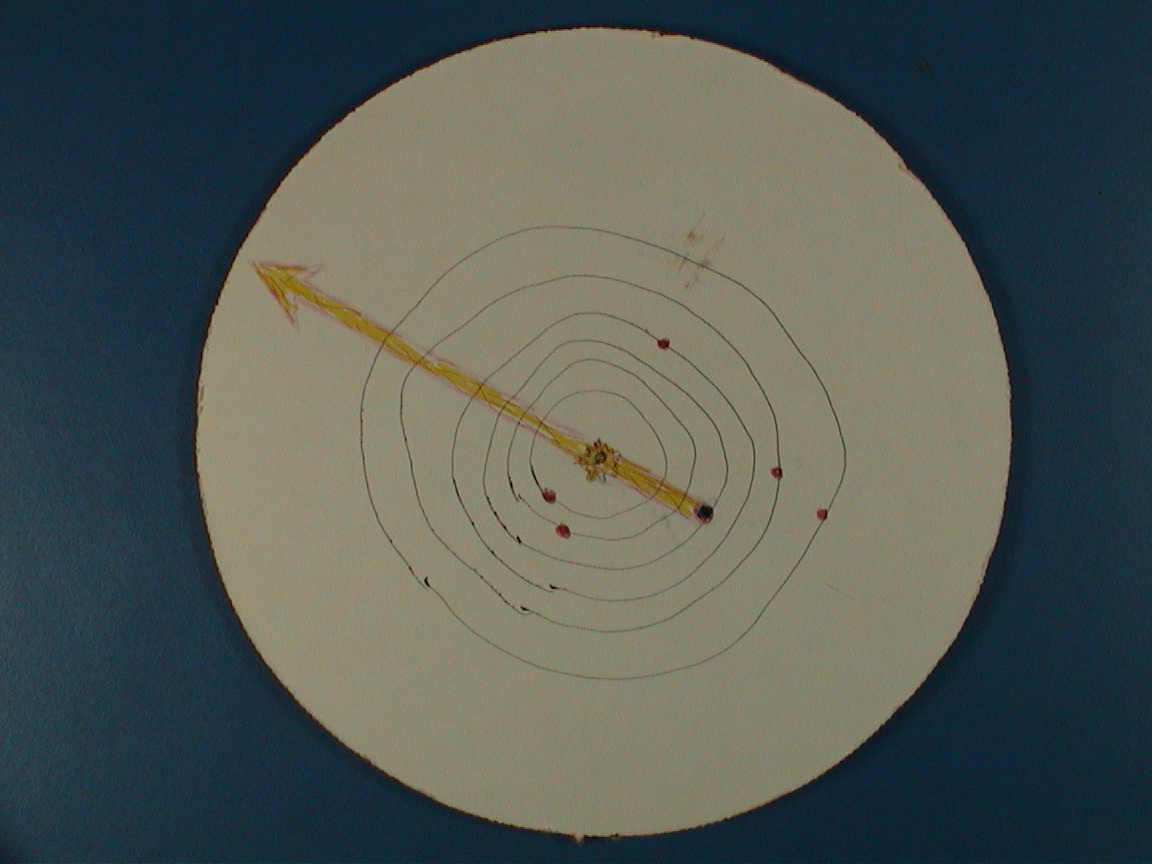
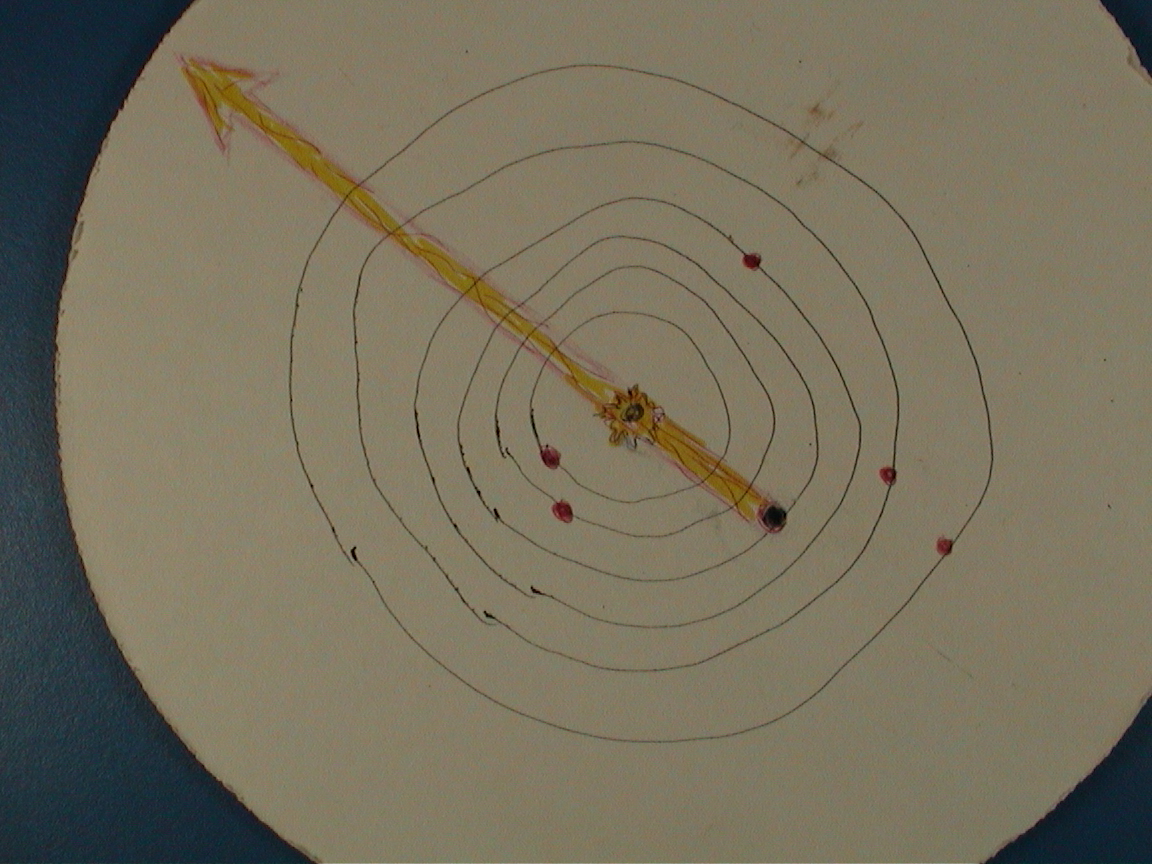
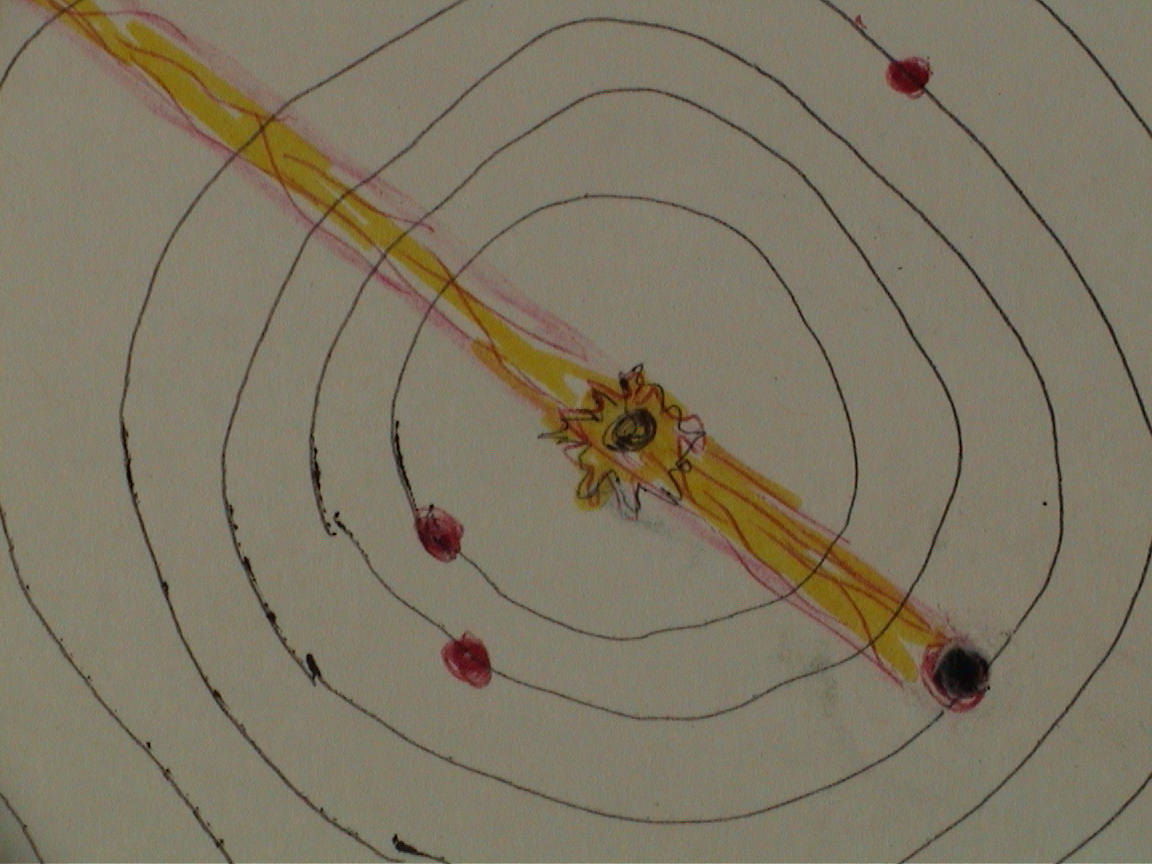
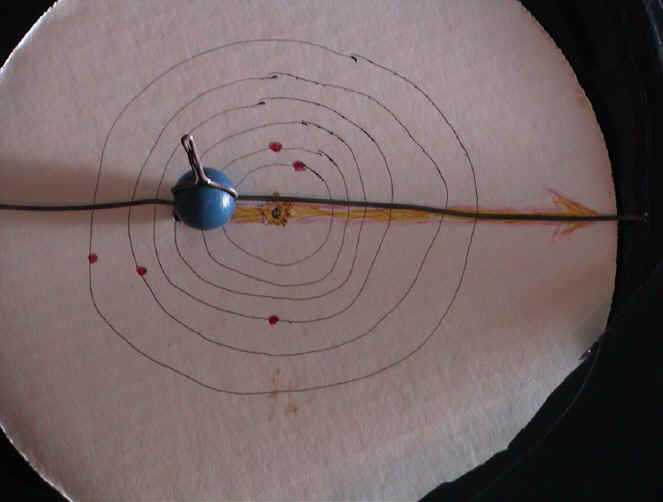
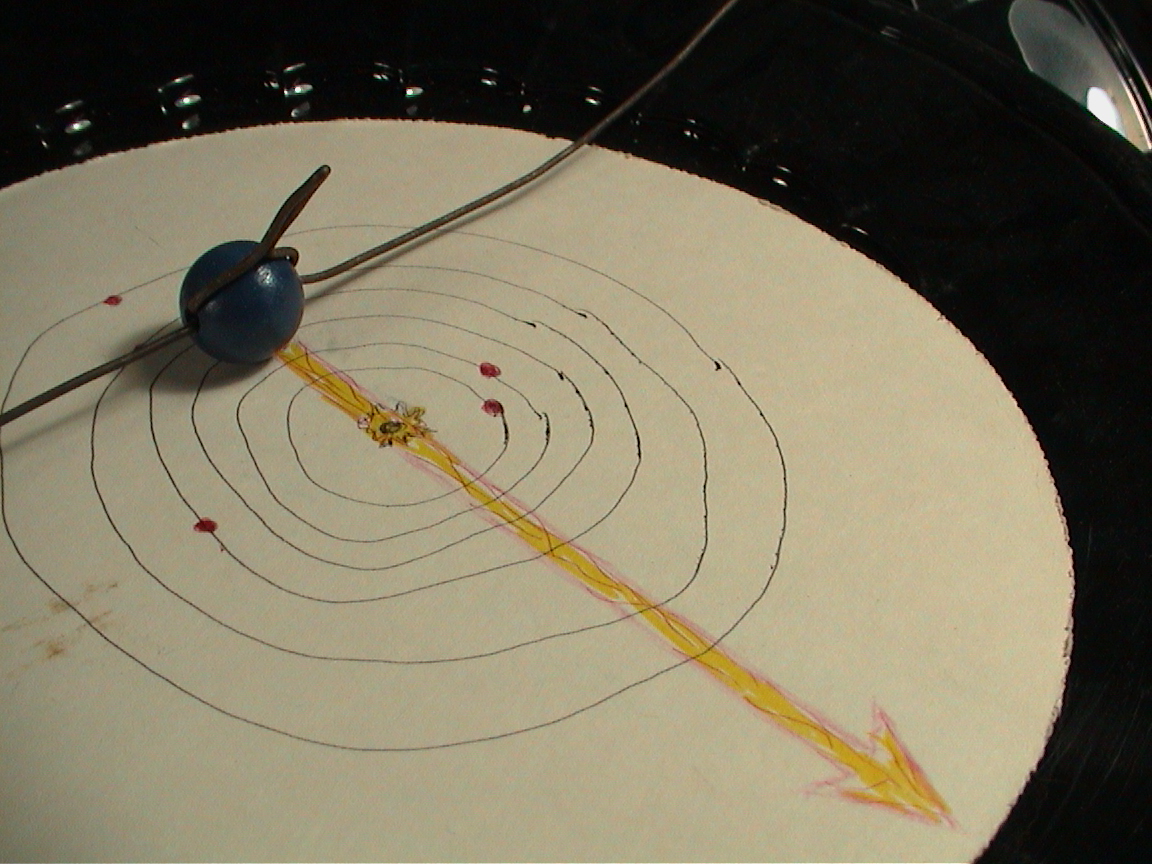
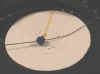
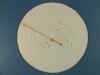
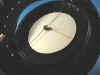
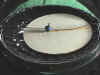
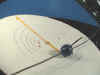
The solar system plate shown at left shows a
simple version. From the earth, draw a bright yellow sun line outward through
the sun to the edge of the plate. As shown above, you may choose to
draw lines from the earth through the planets as well. |
 |
Punch a hole through the earth. |
|
|
 |
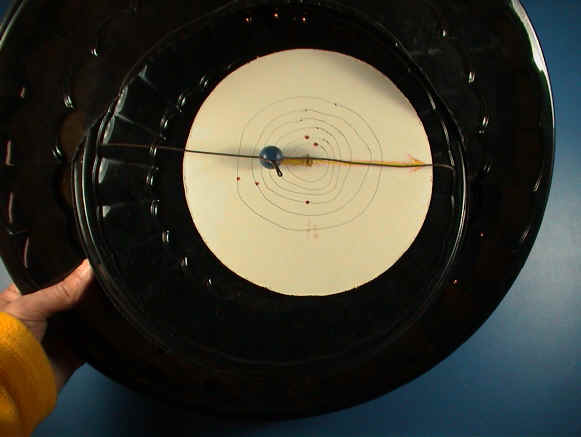
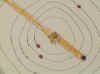
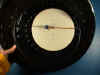
Slide the solar system plate under the wire and
align the hole in the inner tray with the hole in the earth. Secure
the planet plate to the inner tray with a
paper fastener. If you drew your orbits with the sun centered on the
plate, when you spin the solar system plate it will rotate off-centered
(and that is okay). The blue earth should be floating
directly above the paper fastener (not visible here). |
|
Label the Ecliptic
|
 |
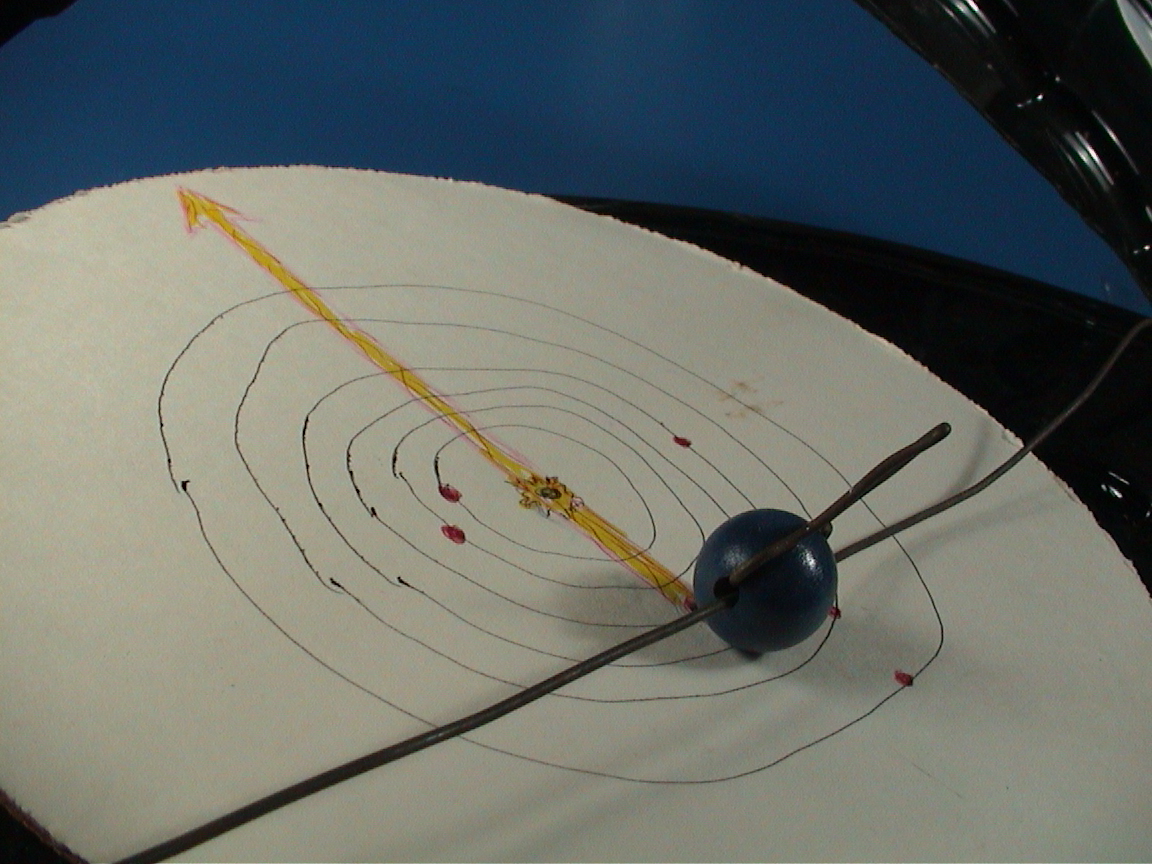
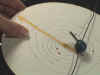
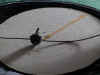
Hold the outer tray as you would a steering
wheel so that the top of the inner tray is above the plane of the outer
tray, and the bottom of the inner tray is below the plane of the outer
tray, as shown at left. Rotate the solar system plate so
the sun line is pointing to the right hinge. That is, the sun line
is along the wire on the right side. You may label the edge of the
inner tray "Vernal Equinox," for the sun coincides with
the celestial equator on the vernal equinox. |
|
|
|
Still holding the outer tray as in the previous
step, rotate the solar system plate counterclockwise so the sun line
points to the top of the inner tray. You may label this point
"June solstice." The sun has moved 90 degrees left,
or east, on the ecliptic to a point
23 ½ degrees above the celestial equator (outer tray). |
|
|
|
Now rotate the solar system plate
counterclockwise 90 degrees so the sun line is pointing to the left
hinge. That is, the sun line is along the wire on the left
side. You may label the left edge of the inner tray
"September Equinox," for the descending sun coincides
with the celestial equator on the September equinox. |
|
|
|
Lastly rotate the solar system plate
counterclockwise 90 degrees so the sun line points to the bottom of the
inner tray. You may label this point "December
solstice." The sun has moved on the ecliptic to a point
23 ½ degrees below the celestial equator (outer tray). |
|
|
|
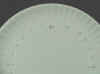
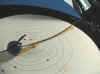
Another benefit of using the rigid black tray is
that the decorative scallops along the perimeter of the inner tray is
conveniently divided into 24 sections. Therefore each scallop
represents one hour of right ascension, or 15 degrees. You may easily
label the boundaries of the zodiacal constellations on the edge of the
inner tray with the vernal equinox being the 0/24 hour point or the zero
degrees point. The sun line will then point to the zodiacal
constellation through which the sun is traversing.
The table from the Defining the Zodiac
activity lists the boundaries of the zodiac along the ecliptic:
Degrees
R. A.
Sun moves into Constellation
000o
00'
00:00:00
Vernal Equinox in Pisces, 1st of Spring!
028o
42'
01:46:40
Aries
053o
21'
03:24:05
Taurus
090o
09'
06:00:35
Gemini
118o 00'
08:00:15
Cancer
138o
03'
09:22:00
Leo
173o
51'
11:37:30
Virgo
180o
00'
12:00:00
1st of Autumn!
217o
48' 14:21:45
Libra
241o
00'
15:55:30
Scorpius
247o
45'
16:23:30
Ophiuchus (OFF ih YOU cuss)
266o
12'
17:43:35
Sagittarius
299o
39'
20:07:20
Capricornus
327o
30'
21:58:40
Aquarius
351o
37'
23:29:00
Pisces
|
Use Your Plate-a-tarium
The Plate-a-tarium will indicate where to look for the sun and
planets for any given date or time, provided your planets plate is up to
date.
First set the date by rotating the sun line into the proper
constellation or date along the ecliptic (inner plate).
While facing south, hold the outer tray as you would a steering
wheel so that it is aligned with your celestial equator. The angle of the
celestial equator from the horizon is equal to 90 degrees minus your
latitude. For example, if you are at 40 degrees of latitude, the outer
tray should be inclined 60 degrees.
As you face south, the wire indicating the earth's axis should
remain pointing toward the north pole or Polaris, even as you "turn the
wheel."
The sun is your timepiece. Set the time by rotating the
outer tray so that the sun corresponds to its appropriate position. A
trick to bring the observer down to earth is to imagine that the Plate-a-tarium
is submerged half way into a tub of water. The portion above the water is
the observers view; the portion below the water is obscured just as the ground
blocks out our view of the other half of the sky. As you rotate the outer
tray, the sun line points to the position of the sun through the hours.
Set the Plate-a-tarium and rotate it through a day for the
solstices and equinoxes and its utility suddenly becomes very clear!
Notice how the sun line points southeast at sunrise (for northern mid-latitudes)
and southwest at sunset at the June solstice. Witness how the sun rises
due east (to the left) and sets due west (to the right) at the
equinoxes.
| Vernal equinox sunset |
June solstice sunset |
September equinox sunset |
December solstice sunset |
 |
 |
 |
 |
|
 |
 |
 |
|
|
|
|
 |
 |
 |
 |
To find out what planets are visible in the evening sky,
set the sun below the horizon (rotate the "steering wheel" below the
"bathtub's waterline"). The earth-to-planet lines should point
directly to those planets, and be fairly accurate in both altitude and
azimuth. A small error is introduced because the planet orbits do not
coincide directly with the solar plane.
Compare the altitude of the noon sun in December to the altitude
of the noon sun in June.
You've heard of the Land of the Midnight Sun? Set the
solar system plate so the sun line points to the June solstice. To travel
to the north pole, hold the "steering wheel" so it is horizontal and
rotate it. The sun appears to make a circle overhead.
Try visiting the equator. As you hold the outer tray
vertically, notice how the sun never strays more than
23 ½ degrees from the zenith at noon.
Below are some more circumstances that show the sun's position
through the seasons.
 |
 |
 |
 |
| Vernal equinox sunrise |
June solstice midnight |
September equinox sunset |
December solstice noon |
 |
 |
 |
 |
Contributed by Chuck Bueter.
|