![]()
![]()
![]()
![]()
![]()
![]()
![]()
|
|
|
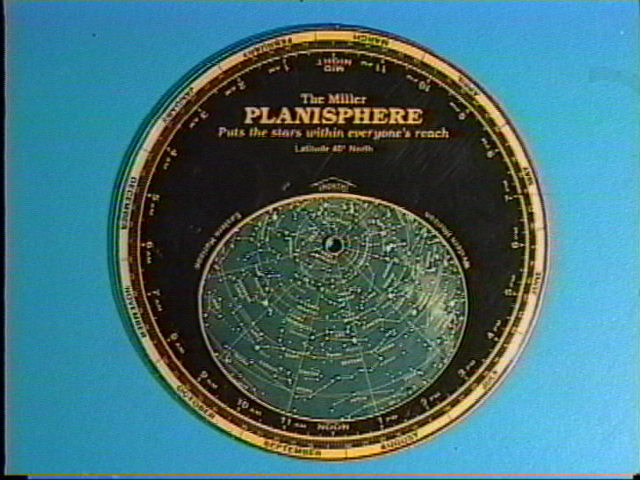
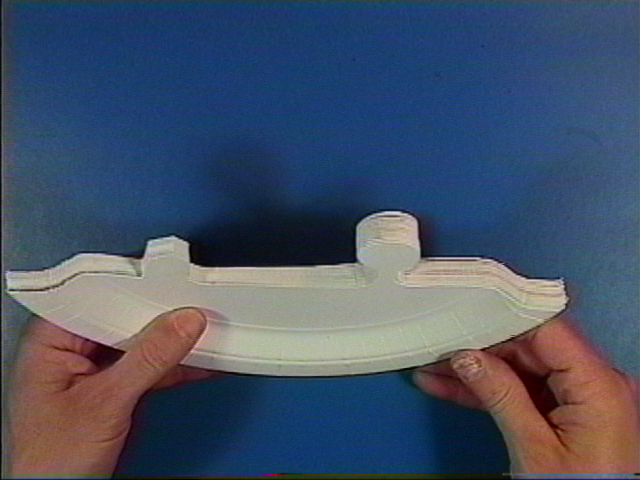
Paper Plate Education Video Excerpts: PlatisphereThe following pictures and narration are excerpted from the Paper Plate Astronomy video.
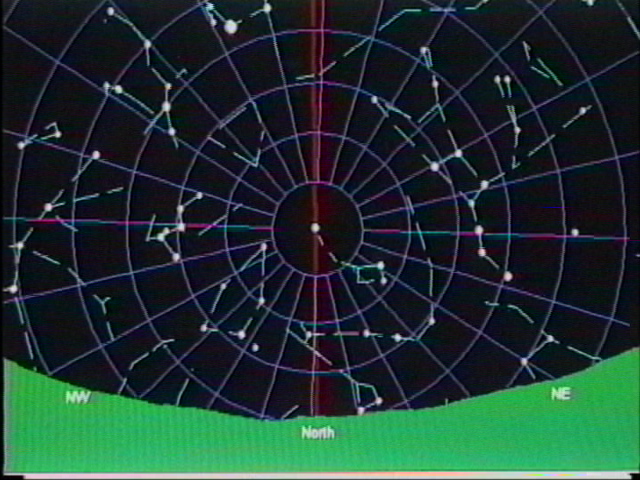
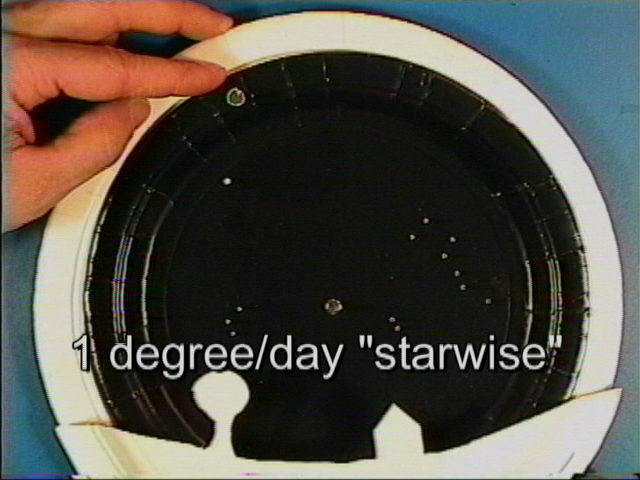
When you are facing north, as the hours pass you see the stars move starwise, or counterclockwise. If you denote due north with a red meridian line, you see the pivot point around which they rotate is Polaris, the north star.
Then print the star chart. Here is the red meridian line. Polaris is at 90--then there are 80, 70, 60, 50, and...
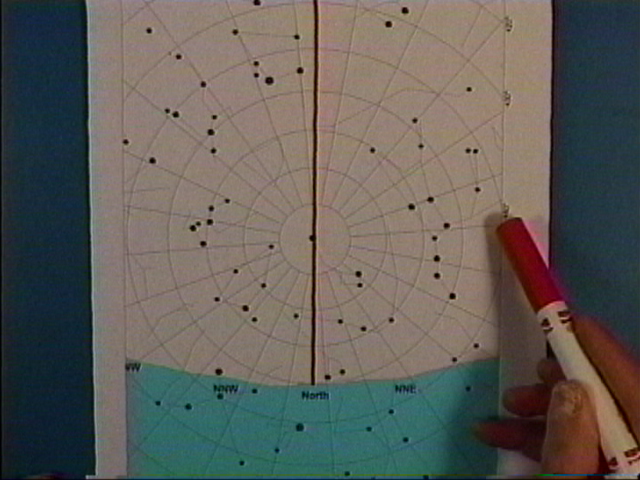
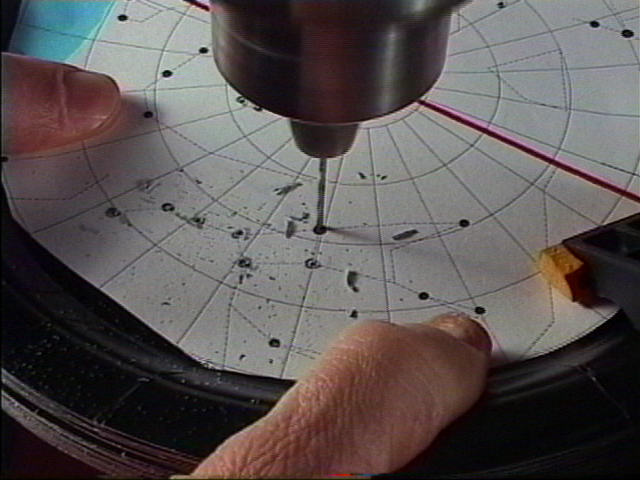
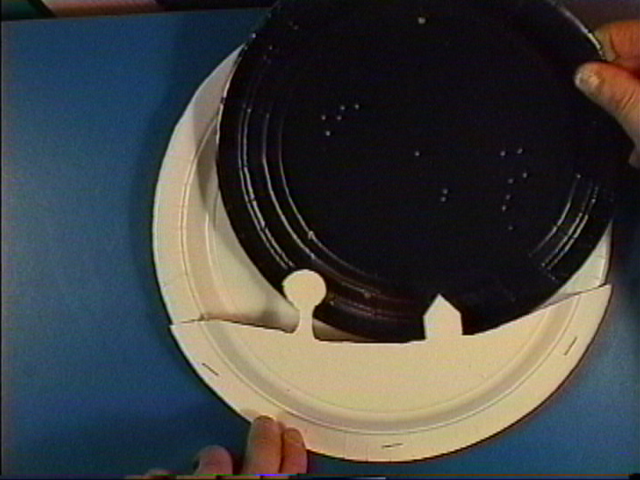
Center and affix the star chart on a stack of 9-inch black plates. We will use the following technique to mass produce plates for a group.
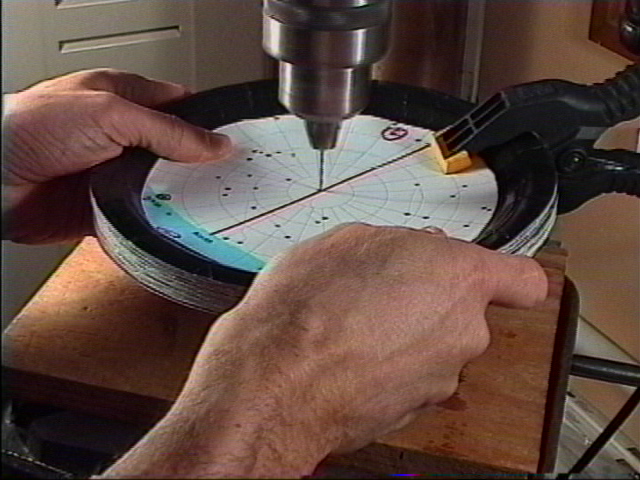
At a drill press or with a hand drill you will use three different-sized drill bits.
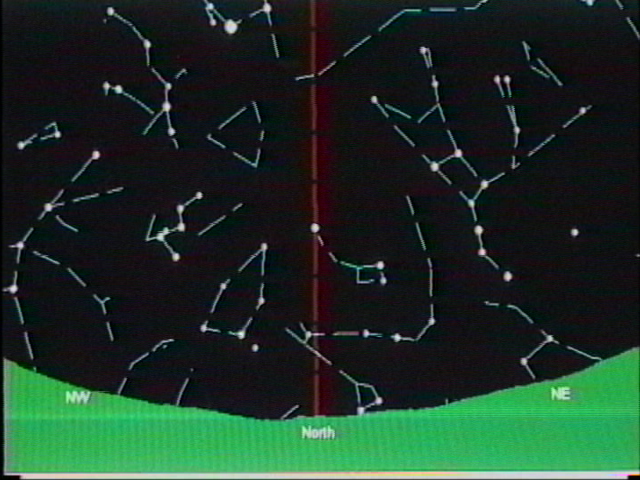
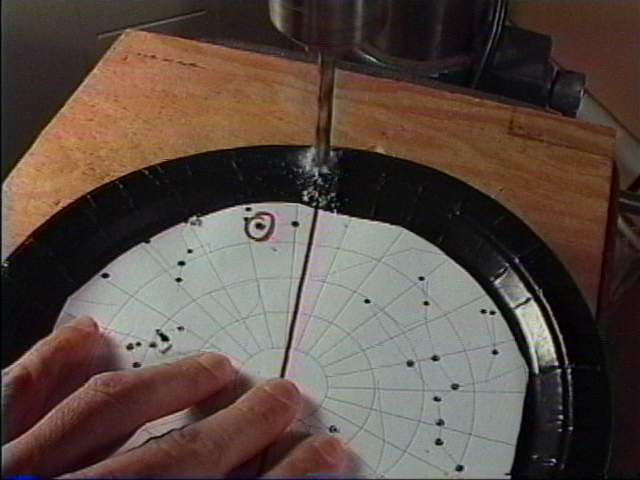
The Platisphere really works well when you limit the number of constellations depicted. You can always add them later as your observing progresses. Also, if you are in light polluted skies, omit the four fainter stars in the middle part of the Little Dipper. It is recommended that you do include the three bright guide stars, even if the printed chart shows them to be below the horizon at the moment. Of course, use caution with the drill near your fingers.
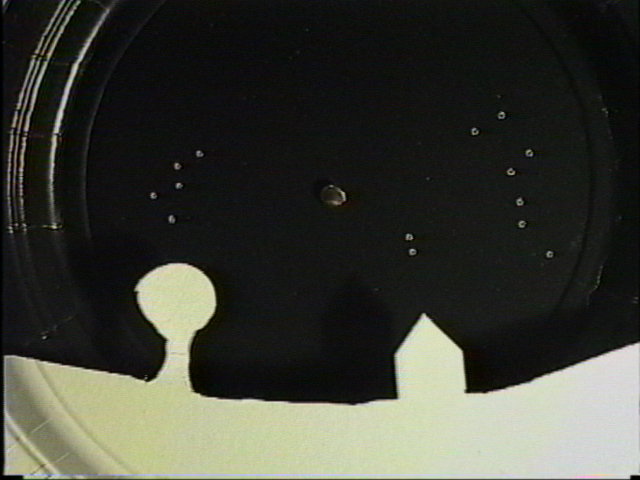
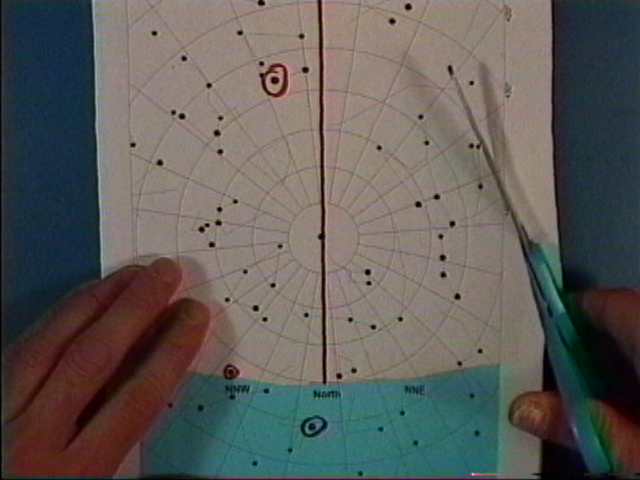
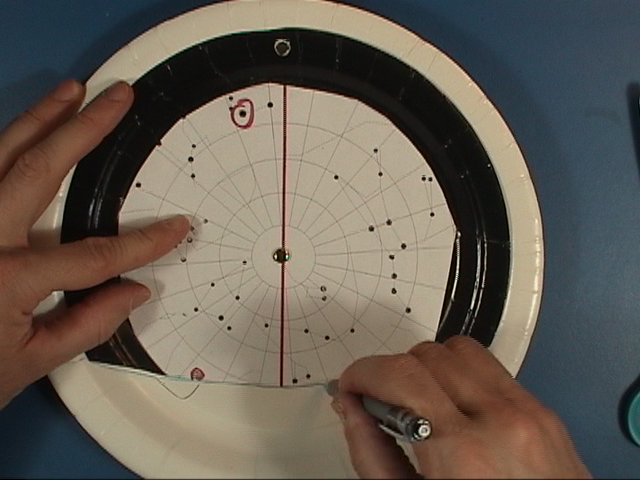
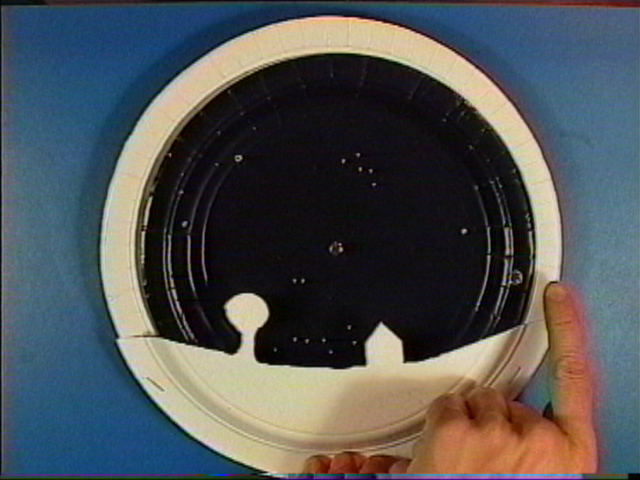
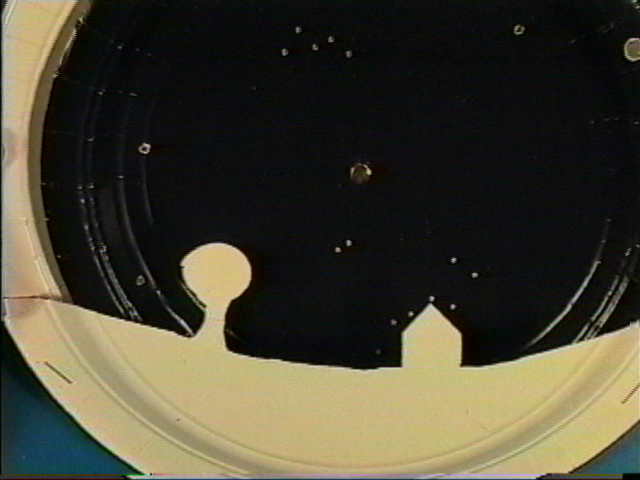
This will be your indicator hole. When you remove the star chart you have a stack of black starfield plates remaining. Here is the Big Dipper.. which leads you to Polaris...and beyond to the W of Cassiopiea....Down low are Deneb...Vega...and Capella. Now, to make a horizon for your latitude, cut off the the semi-transparent horizon from the bottom of the printed star chart...
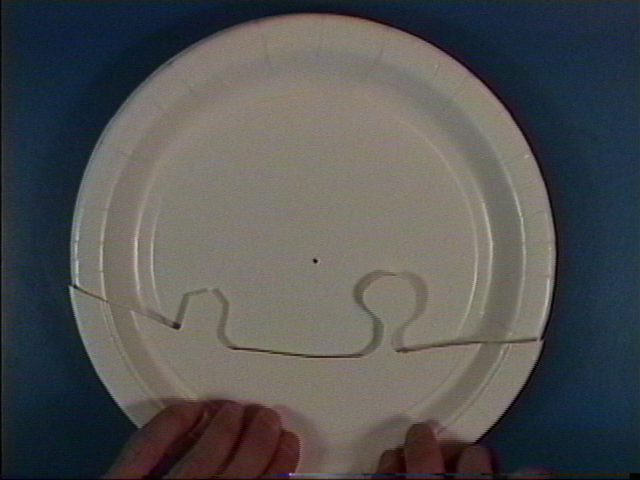
Add a few horizon features--a house, a tree--and cut off the rest of the plate above that.
You now have a black starfield plate, a 10-inch background plate with a small hole in its center, and a cut out horizon. Turn the horizon upside down and staple it to the big white plate, giving it a 3-D appearance.
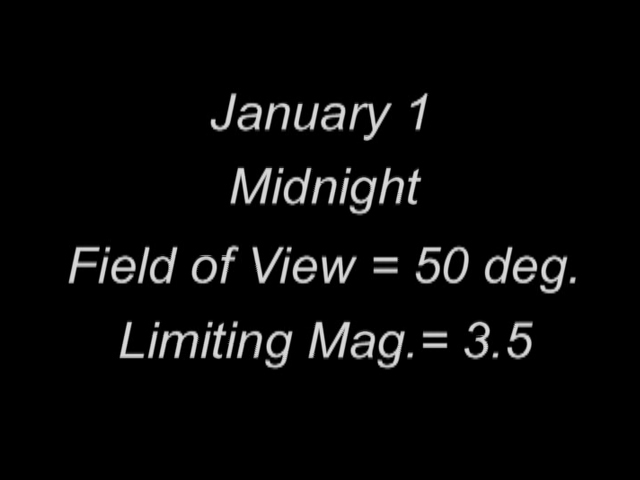
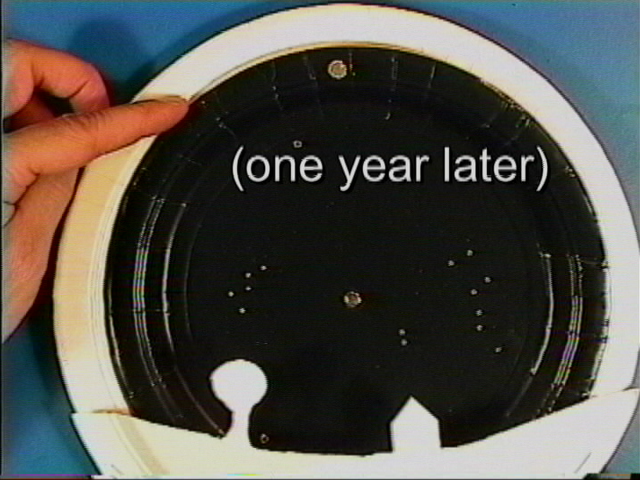
From January 1 we can subdivide the plate into 12 months--February 1, March 1, April 1, May 1... October 1 November 1, December 1, and back to January 1--all being at midnight. Concurrently, every 24 hours the stars will rotate about once around...so half a plate is 12 hours, a quarter plate is 6 hours...If we start on January 1 at midnight, a quarter turn takes us to 6 a.m., then noon...
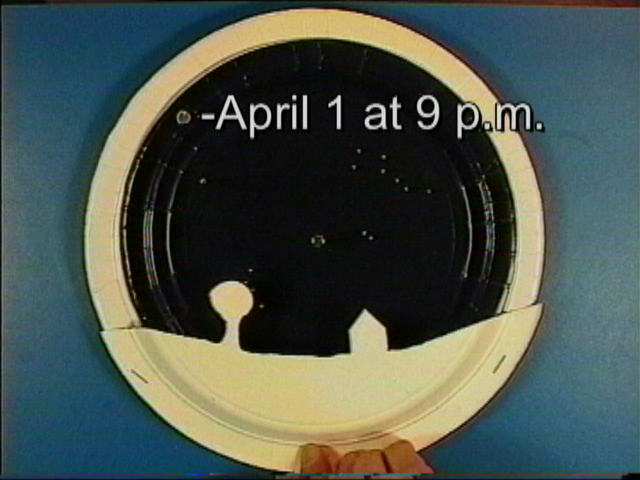
So let’s try an example--set the sky for April 1 at 9 pm. From January 1 at midnight, move forward 3 months...to February 1, March 1, and April 1 at midnight. Then set the time, moving forward 21 hours from midnight--to noon, this is 6 p.m., plus three more hours to 9 p.m....So we’ll move the indicator hole from the April 1-midnight position ... forward 21 hours to April 1 at 9 p.m.
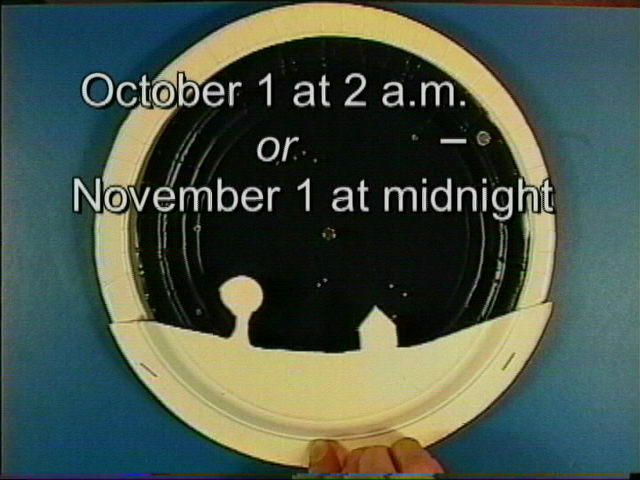
Another way to get to April 1 at 9 p.m....From April 1 at midnight you could go forward 21 hours...or, from April 1 at midnight go backwards in time by 3 hours to 9 p.m. So again this is how the north circumpolar stars appear on April 1 at 9 p.m. In this second example you’ll see how two different times and dates can have the same starfield. From January 1 at midnight, move “starwise” until the indicator hole is on the right edge, or at October 1-midnight. From here you can move it forward either 2 hours or one month.
|
|
Copyright ©2012 Chuck Bueter. All rights reserved. |